
Ciao a tutte!
Se desiderate ottenere una piega anni 40 senza utilizzare il calore di strumenti che alla lunga danneggiano i capelli, seguite passo passo questa guida in 10 Step e ditemi se il risultato vi entusiasma!
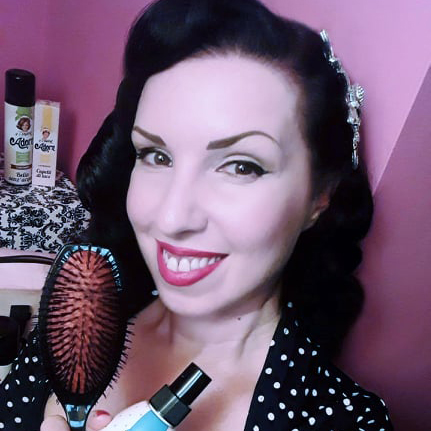
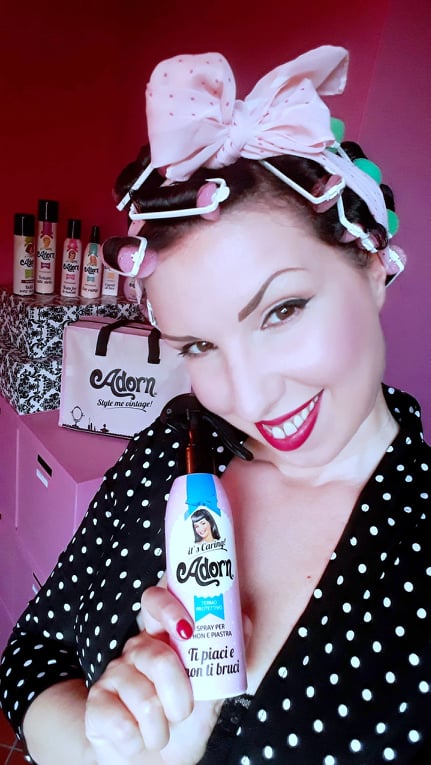
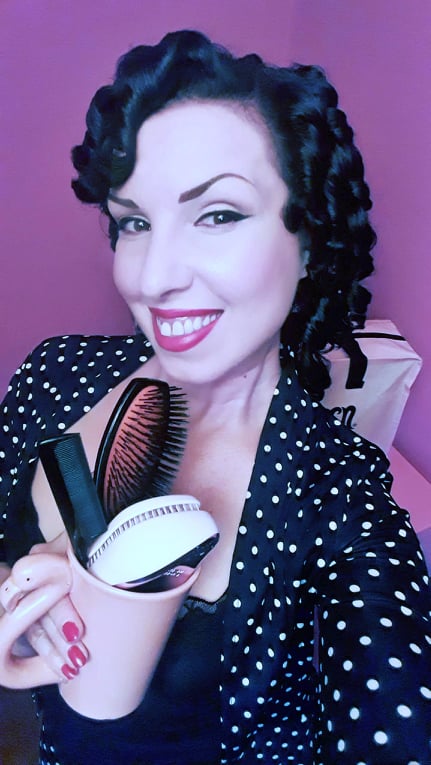
Per prima cosa ecco l’occorrente: un pettine a coda, una spazzola a setole sintetiche rigide , una spazzola districante, bigodini di spugna piccoli e medi (circa 24), qualche clip a becco d’oca, Adorn spray ti piaci e non ti bruci e lacca Adorn Eco-vamp.
Con i bigodini di queste dimensioni e una retina vi sarà possibile anche fare la piega la sera e dormirci sopra per poi acconciare i capelli il giorno dopo.
STEP 1 – Dopo esservi lavate i capelli tamponateli bene con un asciugamano in modo da avere i capelli umidi ma non bagnati e districateli con la spazzola districante (io uso la Tangle Teezer).
STEP 2- Con un pettine iniziate a dividere i capelli in ciocche uguali dalla sezione frontale della testa. Generalmente a me bastano 4 bigodini.
STEP 3-Ogni ciocca va spruzzata con Adorn ti piaci e non ti bruci e pettinata col pettine a coda in modo tale da distribuire il prodotto su tutta la lunghezza.
STEP 4- Ogni ciocca va arrotolata su un bigodino partendo dalle punte e facendo attenzione che non escano mentre si arrotola, ci vuole un po’ di pratica le prime volte, ma vale la pena perderci un po’ di tempo perché poi i vostri boccoli saranno perfetti. I bigodini di spugna vanno aperti prima di arrotolare e chiusi con la loro clip a fine procedura. Arrotolate i bigodini nella direzione in cui volete ottenere la vostra onda.
STEP 5-Dopo aver finito e bloccato la parte frontale passate alla parte laterale seguendo le stesse indicazioni. Io uso la stessa grandezza dei bigodini per questa parte lasciando quelli medi per la parte posteriore. Il segreto è cercare di fare delle ciocche piccole e più ordinate possibile.
STEP 6- Per la parte posteriore potete procedere con bigodini e ciocche leggermente più grandi. A questo punto occorre attendere che i vostri capelli si asciughino all’aria (nel frattempo potete dedicarvi ad altre attività). Più tempo tenete in posa i capelli e meglio è per ottenere una piega ottimale. Come vi ho anticipato, se volete potete anche andare a dormire coprendo i vostri bigodini con una retina o un foulard. I bigodini di spugna sono sufficientemente morbidi per dormirci sopra.
STEP 7- A capelli completamente asciutti potete srotolare i vostri bigodini e l’effetto sarà quello di ottenere dei boccoli fitti e molto elastici. Adesso viene il bello perché si passa a uno step fondamentale per ottenere la nostra acconciatura anni 40 che consiste nello spazzolare energicamente i capelli e nel dare la forma alla chioma. In questa fase, qualche becco d’oca vi sarà utile.
STEP 8- Con la spazzola a setole rigide spazzolate energicamente i capelli seguendo la forma dell’acconciatura che volete ottenere. Per la parte frontale il movimento è indietro e poi facendo una curva in avanti, in questo modo appariranno una serie di onde che andranno definite continuando ad usare la spazzola e aiutandovi con le mani.
STEP 9- Una volta create le onde frontali bloccatele con i becchi e date una prima spruzzata di lacca Adorn Eco-vamp e lasciatela asciugare bene. Se volete più volume nella vostra onda principale cotonate col pettine alla base delle ciocche e poi spazzolate delicatamente per eliminare le increspature dando la forma con le mani. Il lato opposto alla vostra onda spazzolatelo indietro e bloccatelo dietro l’orecchio.
STEP 10- Per la parte posteriore spazzolate energicamente in giù sia da sopra che da sotto la chioma, otterrete una forma bombata che poi andrà fissata sempre con la lacca Adorn Eco-vamp. Date un’ultima spruzzata a tutta l’acconciatura, togliete i becchi e se volete aggiungete un accessorio per i capelli a piacere, io ho usato un pettine in strass ma si possono usare, mollette, fiori ecc.
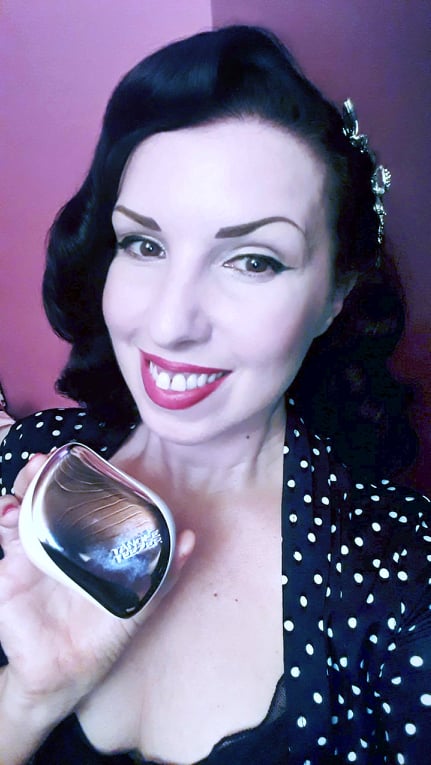
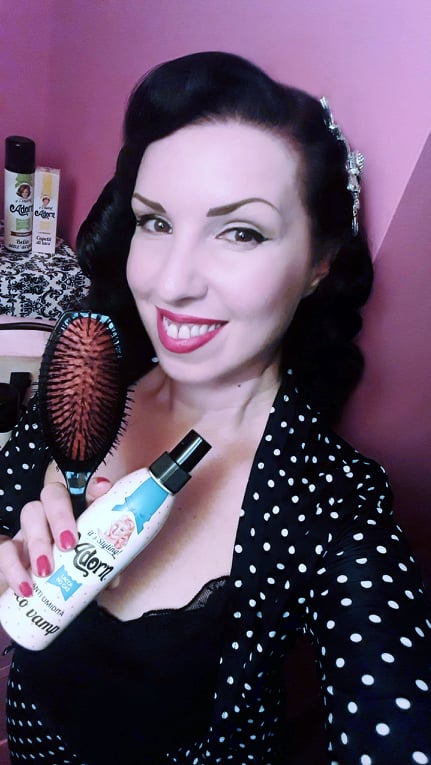
Se avete seguito passo passo tutti gli step il risultato sarà questo, come tutte le acconciature vintage ci vuole un po’ di pazienza e manualità, quindi provate più volte e vedrete che il risultato sarà sempre meglio. Se poi volete riprendere la piega nell’arco della giornata, la spazzola tascabile Tangle Teezer è un ottima alleata, perché vi consente di ridare vaporosità alla chioma mantenendo intatta la vostra piega.
Con questo metodo potrete farvi un’acconciatura anni 40 ogni volta che ne avrete voglia, senza rovinarvi i capelli!
Provate e se vi va, fatemi sapere come vi siete trovate nei commenti qui sotto.
40’s Diva hair style without curling iron, hair dryer or hair styler? Let me tell you how to do that.
Hi everybody!
If you’re willing to get a 40’s inspired hairstyle without using any kind of heating tools, which might damage your hair in the long term, follow these 10 steps and tell me if the result makes you happy!
First of all this is all you need: a tail comb, a synthetic bristle hair brush, a detangler brush, foam hair styling rollers small and medium size (approximately 24), few hair clips, Adorn mix spray Ti piaci e non ti bruci and Adorn hair spray Eco-Vamp.
With this size foam rollers and a hair net you can do this procedure in the evening, go to sleep and create your hairstyle in the morning.
STEP 1-After washing your hair dry them with a towel in order to get slightly wet hair and not water dripping, then detangle your hair (I use a Tangle Teezer brush).
STEP 2-Divide your frontal section hair with a tail comb into small sections for your foam rollers. Usually for my hair 4 small rollers are enough.
STEP 3-Spray every hair section with Adorn Ti piaci e non ti bruci and comb it through your hair.
STEP 4-Roll every section on a foam roller starting from the points and being careful not to let them roll out while you fix your section on the roller, it takes a little practice the first time you do that, but be patient and take your time to do this step, because your curls are going to look perfect afterward. Roll your foam rollers in the direction you want to get your big wave.
STEP 5-After finishing the frontal sections go on with the side following the same instructions. I use the same small rollers size in my frontal and side areas and medium size rollers for the back. The secret is to make small sections as clean as possible.
STEP 6-For the back side you can use medium size rollers and work slightly bigger hair sections.
Now you have to wait until your hair dry naturally ( in the mean time you can dedicate your time to several other activities). The more you keep your foam rollers on the better result you’ll get. As I told you previously, if you have a hair net or a nice foulard, you can also do this steps in the evening and go to bed, foam rollers are soft enough to let you sleep.
STEP 7-When you’ll have completely dry hair you can take the foam rollers out and you will get amazing elastic curls. And now there’s a very important step to get your 40’s style look, the brushing is fundamental to shape your hair and a few hair clips might be useful to help you along the way.
STEP 8-Brush your hair with your bristle brush following with your movement the shape you want to get. For the frontal section the move is back and forward doing a wave on the way forward. As soon as your waves appear keep shaping them with your brush and your hands.
STEP 9-Once you have nice frontal waves you can block them with your hair clips, spray Adorn Eco-Vamp and let it dry. If you want more volume in this area you can backcomb a little the roots before you create the wave, be careful to clean any fizzy hair while you shape your wave. Brush back the opposite side hair section and block it behind your hear.
STEP 10-Brush with energy the back section both from the upper side and under your hair, you will get fluffy shaped hair that you’ll have to fix with some Adorn Eco-Vamp spray. Final touch, spray the whole hair style again, let it dry and remove hair clips. You can use any accessory you like to decorate your hair style, I used a crystal comb, but you may use also fancy hair pins, flowers, etc.
If you followed all the steps this will be your result, as any vintage hair style you need some patience the fist time you attempt to do this, but the more you repeat it the better it will be. Here’s a tip for you, if you want to refresh your hair style during the day, a Tangle Teezer brush is going to be useful, because you can keep your hair style fluffy without ruining your work.
This technique will let you free to shape a beautiful 40’s hair style any time you want without damaging your hair!
Try it and feel free to let me know your personal experience in the comment form below.


Comments